Crafting and Case Study of Cost-Effective Universal Hardware Toolkits for specific IR cases
Background: In the incident response discipline, it is often necessary to carry hardware in our bags that can make daily tasks more manageable. In our previous articles, we discussed how to leverage red team tools to accomplish certain actions, although the scope of that discussion was somewhat limited. The real challenges arise when we need portable solutions—such as tools to quickly acquire a drive image or hardware that allows us to immediately analyze raw data during urgent investigations. However, while these tools offer significant advantages, they also come with certain drawbacks, such as limited transfer speeds, lack of compliance with specific standards, and difficulties in handling large volumes of data, among other issues.
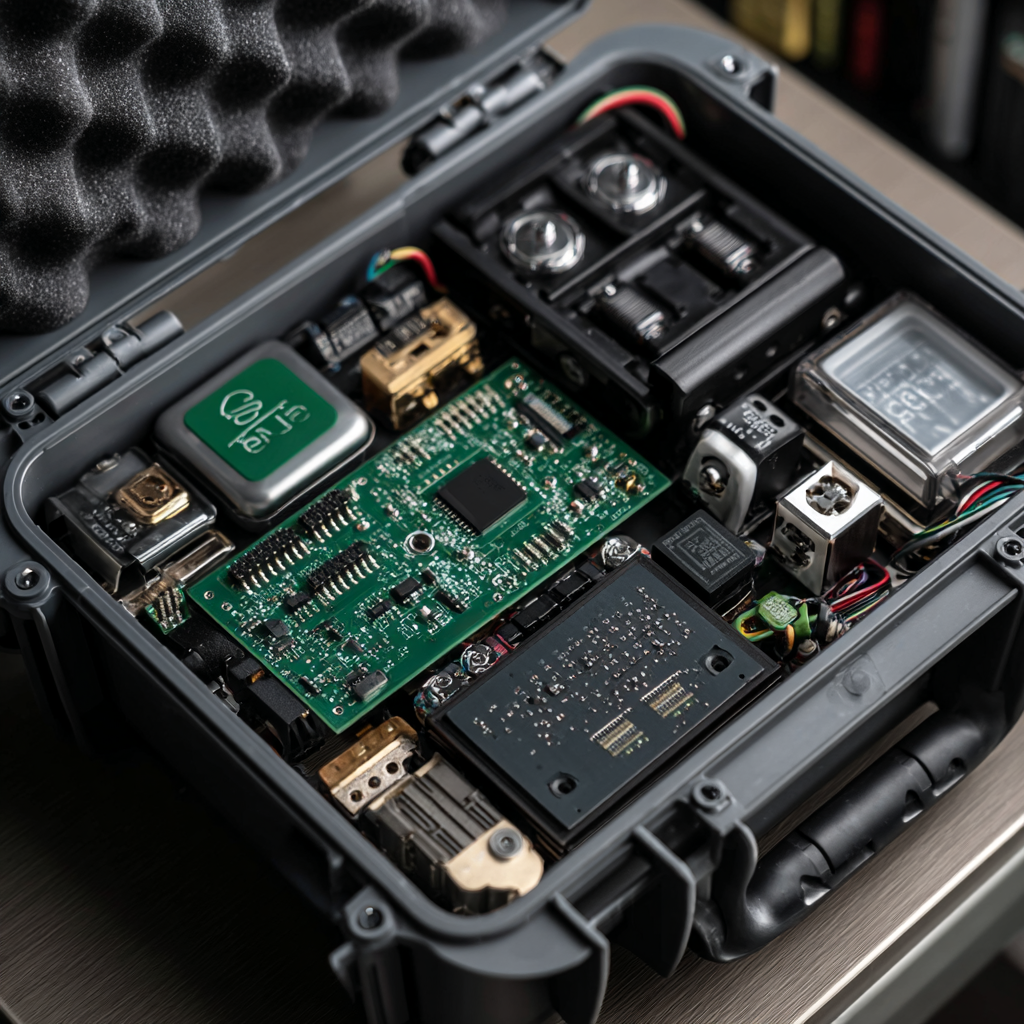
Components need to use: 1. Raspberry PI. 2. USB write blocker. 3. Ubuntu or other similliar distro for ARM processes. 4. External Drive and connection.
Preparation:
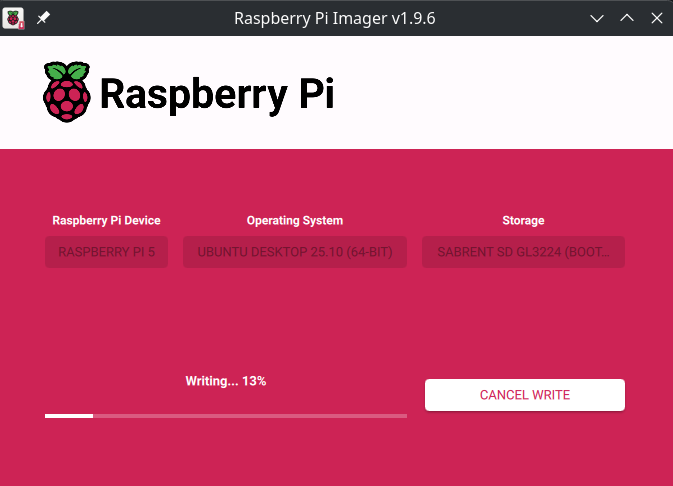
To leverage the capabilities of the Raspberry Pi, you can install Ubuntu for Raspberry Pi or other specialized distributions that are designed for forensic analysis and various system checks.
After installing the necessary files and setting up your system, you can create scripts to automate forensic activities. For acquiring data from a connected HDD, you can use the dcfldd package, which helps in creating copy of the drive and ensures the integrity of the data by verifying hash values. In this stage always use write blocker to make sure that no any additional data was not wroten on disk .
The next step is to mount the acquired image to your Raspberry Pi. For this, we can use the kpartx package, which allows us to map the partitions of the acquired disk image and mount it to the system.
Once the image is successfully mounted on your Raspberry Pi, you can start performing on-the-fly analysis. For example, you can run a YARA scan on the mounted directories to check for malware or suspicious files. Alternatively, you can conduct other types of checks depending on your specific requirements, such as file integrity verification, data extraction, or additional forensic analysis.
Essential Scripts: Acquire image over bash script
#!/bin/bash

# Check if there are two arguments (input device and output destination)
if [ "$#" -ne 2 ]; then
    echo "Usage: $0 <input_device> <output_image>"
    exit 1
fi

# Assign input and output arguments
INPUT_DEVICE=$1
OUTPUT_IMAGE=$2

# Create a hash log file in the same location as the output image
HASH_LOG="${OUTPUT_IMAGE}.hash"

# Check if the input device exists
if [ ! -e "$INPUT_DEVICE" ]; then
    echo "Error: Input device $INPUT_DEVICE does not exist."
    exit 1
fi

# Create the forensic image and compute the SHA256 hash with progress
echo "Creating image from $INPUT_DEVICE to $OUTPUT_IMAGE..."
sudo dcfldd if="$INPUT_DEVICE" of="$OUTPUT_IMAGE" bs=4M hash=sha256 hashlog="$HASH_LOG" status=on

# Check if the dcfldd command was successful
if [ $? -eq 0 ]; then
    echo "Image creation completed successfully!"
    echo "SHA256 hash has been logged to: $HASH_LOG"
else
    echo "Error: Failed to create image."
    exit 1
fi
Mount & Unmount Image:
#!/bin/bash

# Check if the user has provided the correct arguments
if [ "$#" -lt 2 ]; then
    echo "Usage: $0 <mount|umount> <path_to_image.dd> <mount_point>"
    exit 1
fi

# Action: 'mount' or 'umount'
ACTION=$1
IMAGE_PATH=$2
MOUNT_DIR=$3  # The mount directory passed by the user

# Check if the image exists
if [ ! -e "$IMAGE_PATH" ]; then
    echo "Error: Image file $IMAGE_PATH does not exist."
    exit 1
fi

# Default mount directory if none is specified
if [ -z "$MOUNT_DIR" ]; then
    MOUNT_DIR="/mnt/image"
fi

# Function to mount the image
mount_image() {
    echo "Mapping partitions from $IMAGE_PATH..."

    # Map the partitions using kpartx
    sudo kpartx -av "$IMAGE_PATH"

    # Check if kpartx was successful
    if [ $? -ne 0 ]; then
        echo "Error: Failed to map partitions from the image."
        exit 1
    fi

    # List mapped partitions to confirm (should include loop devices like loop14p1, etc.)
    echo "Mapped partitions:"
    ls /dev/mapper/loop*

    # Check if any partitions were mapped (loopX devices)
    LOOP_DEVICES=$(ls /dev/mapper/loop* 2>/dev/null)
    if [ -z "$LOOP_DEVICES" ]; then
        echo "Error: No partitions were found in the image."
        exit 1
    fi

    # Create mount directory if it doesn't exist
    if [ ! -d "$MOUNT_DIR" ]; then
        echo "Creating mount directory $MOUNT_DIR..."
        sudo mkdir -p "$MOUNT_DIR"
    fi

    # Loop through the partitions and mount each one
    for PARTITION in $LOOP_DEVICES; do
        echo "Mounting $PARTITION to $MOUNT_DIR..."
        sudo mount -o ro "$PARTITION" "$MOUNT_DIR"

        # Check if the mount was successful
        if [ $? -eq 0 ]; then
            echo "Mounted $PARTITION at $MOUNT_DIR"
            break  # Exit after mounting the first partition
        else
            echo "Error: Failed to mount $PARTITION."
            exit 1
        fi
    done

    echo "You can now explore the partition at $MOUNT_DIR."
}

# Function to unmount the image
umount_image() {
    # Check if the mount directory exists and is a mount point
    if mountpoint -q "$MOUNT_DIR"; then
        echo "Unmounting partition from $MOUNT_DIR..."
        sudo umount "$MOUNT_DIR"

        # Check if the unmount was successful
        if [ $? -eq 0 ]; then
            echo "Unmounted successfully from $MOUNT_DIR."
        else
            echo "Error: Failed to unmount from $MOUNT_DIR."
            exit 1
        fi
    else
        echo "Error: No partition is currently mounted at $MOUNT_DIR."
    fi

    # Remove partition mappings created by kpartx
    echo "Cleaning up partition mappings..."
    sudo kpartx -d "$IMAGE_PATH"
    echo "Partition mappings removed."
}

# Perform the mount or unmount operation based on user input
case "$ACTION" in
    mount)
        mount_image
        ;;
    umount)
        umount_image
        ;;
    *)
        echo "Error: Invalid action. Use 'mount' or 'umount'."
        exit 1
        ;;
esac
Test result: I used a USB 3.0 port with two external devices. One was the "victim" USB drive, and the other was the output device. It took about half an hour to acquire an image of the 256GB USB drive. During this test, only the volatile memory of the Raspberry Pi was used.
Conclusion: Using devices like a Raspberry Pi for acquiring data from a 1TB drive is not very effective due to time constraints. To resolve such issues, you should use more powerful laptops to connect to the external hard drive for data acquisition. Alternatively, if you must use a Raspberry Pi, the device from which the image is being acquired should be no larger than 500GB.
However, if you need to mount the acquired image for forensic purposes, such as running YARA scans or performing other lightweight static analysis of files, a Raspberry Pi will be perfectly suitable for these tasks.